Simplify rooms
Remove visual noise so buyers see the room size, layout, windows, storage, and natural flow.
Staging checklist
Small presentation choices can change how buyers feel online and in person.
Staging strategy
The goal is to help buyers understand the home quickly, feel the space, and focus on value instead of distractions. Small choices can improve photos, showings, and confidence.
Remove visual noise so buyers see the room size, layout, windows, storage, and natural flow.
Clean windows, open sightlines, replace weak bulbs, and let the home photograph bright and welcoming.
Address small repairs and personal items that create doubt before buyers notice the best parts.
Set each room so it has a clear purpose, clean surfaces, balanced furniture, and an easy first impression.
Photos need to tell a simple story: this home is clean, cared for, easy to live in, and worth seeing in person. Staging helps remove friction so buyers spend more time imagining themselves there and less time decoding the space.
Every room should be clean, but not every room needs the same level of prep. Start with the spaces that create the strongest first impression and the most emotional connection.
Room focus
Remove shoes, bags, extra furniture, and anything that makes the first view feel tight or busy.
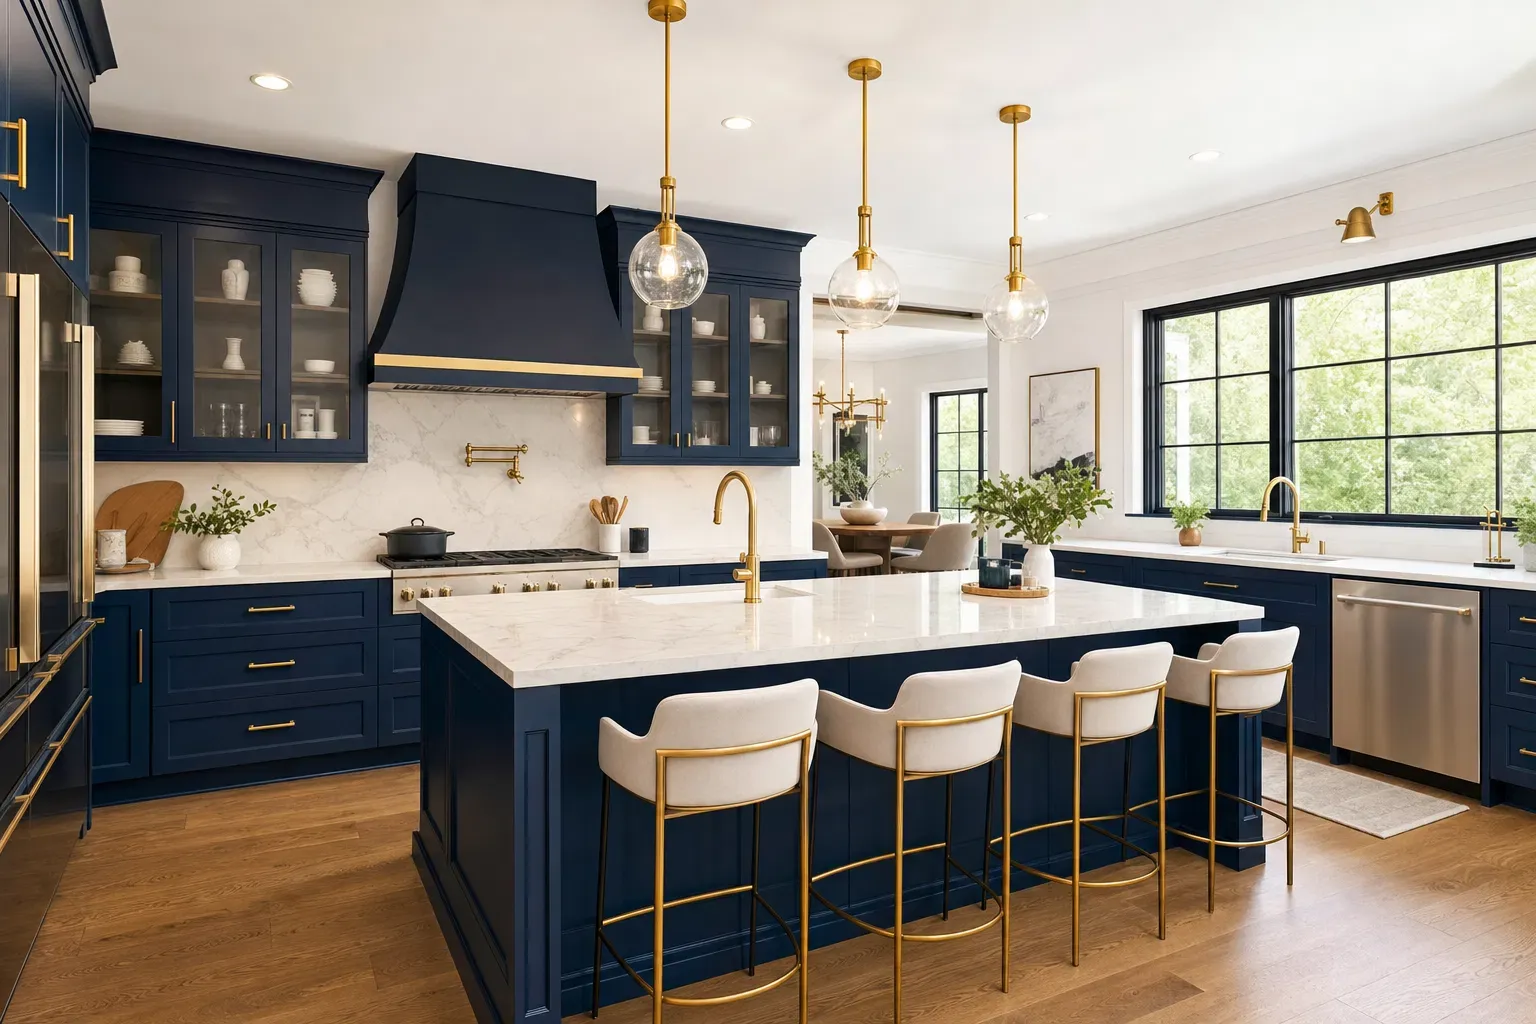
Keep counters clear, show storage, polish appliances, and use simple accents that do not compete.
Create a natural conversation area, pull furniture off walkways, and make the room feel spacious.
Use clean bedding, balanced nightstands, clear floors, and calm colors that photograph well.
Fresh towels, clean glass, hidden products, and bright lighting help buyers feel confidence.
Trim, sweep, pressure wash if needed, and make the front door area feel cared for.
Photo prep timeline
Pack extra items, touch up obvious marks, replace bulbs, tighten handles, and remove anything that distracts from the room.
Deep clean kitchens, bathrooms, floors, windows, mirrors, fans, baseboards, and the entry areas buyers notice first.
Open blinds, turn on lights, hide cords, clear counters, make beds, remove trash cans, and keep cars out of driveway photos.
Use a short reset routine before showings so the home looks consistent from the first tour to the final offer.
Before photos
Jackie can help identify the prep choices that matter most before the listing goes public.